So after a rather fun scenario of stealing the keys from under the British officer, Terry and I turned our attention to the next scenario, a battle scenario, Assault on Lympne Airfield. This would see a 1000 points of BEF defending an essentially open table against a 1000 points of Fallshirmjager.
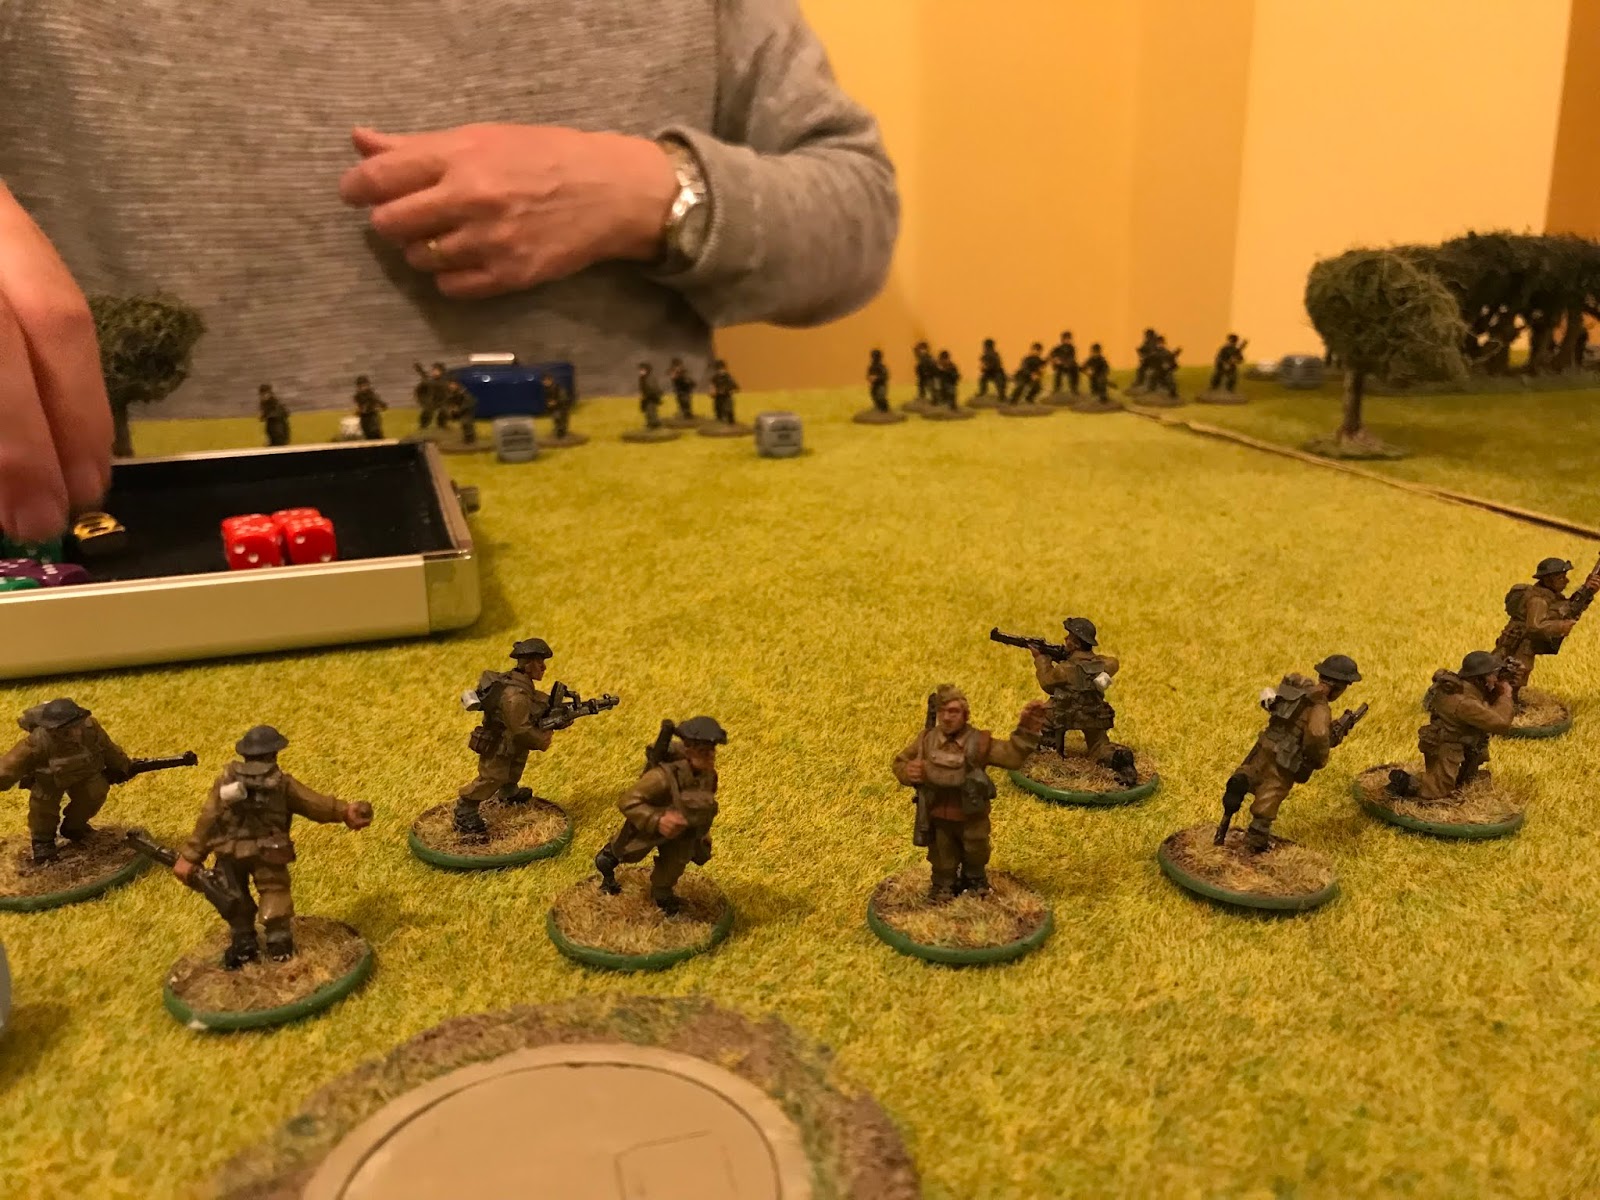
 |
| A lot of open space |
To defend the airfield, I took four squads of BEF, backed up with two Medium Machine Gun and two mortar teams. To do this, I took two platoons with the bare minimum of choices in. This was trying to give a good coverage of fire on the advancing enemy. A Bofur’s Artillery Piece and a few other support teams rounded of the army.
My plan was to really try and stop Terry’s advance. I was fielding a mix of regular and inexperienced troops, whilst Terry’s whole army was Veteran. It was going to be a tough add, but I’m hoping that with two MMG and the Rapid Fire special rule, I would be able to get enough dice per squad to put some pins and maybe even kill one or two.
I also had to use the reserves rule, so I made sure that 2 squads, all of the MMG'a, a mortar, and the Bofors were deployed on to the board. Let’s see how it turns out.
Turn 1:
With the first dice being mine, I decided to put one of the squads in reserve down. There was no enemy in sight, so best to keep dice until I needed them. Next dice went to Terry, and a Mortar was deployed on to the edge of the table. The next dice was mine, and aware that the enemy was beginning to appear, I placed one of the MMG into ambush.
 |
| Wait till you see the white of thier eyes |
The next few dice were mine, and with only one enemy on the board, I placed the second squad and the mortar team in reserve down. Terry then deployed his MMG onto the board, and with the limited terrain it activated my MMG and I opened fire. I caused two killing hits, both on sixes, I rolled again to see if this would roll me another six, and destroyed the MMG rule. The dice gods were on my side and another six was rolled. Terry packed away the MMG he had just deployed.
I followed this success with placing the other MMG onto Ambush and off board the officers went down, waiting for their moment of glory. Meanwhile, Terry brought on a fire support squad and opened fire on the MMG that had done so much damage early on in the game. Despite getting three hits, only one man was killed much to my delight.
 |
| And..... Fire. |
My mortar took aim at Terry’s mortar and with another six (the dice gods were truly on my side tonight I dropped a shell directly on to the team. Two men were killed in the initial explosion, and the team took two pin markers. The last man standing took his morale test, but was stood his ground.
I then advanced a squad towards Terry's fire support squad and killed two. More than this, it was a double six, followed by another double six. I could choose who dies and so Terry's NCO and LMG disappeared. I got another dice, and my other squad went on to Ambush.
The next few dice went into Terry and he brought on his officer, who spent the time skulking around the undergrowth and a further two squads, a fire squad, and a normal squad. He brought on his Fire Support team towards my squad on ambush and I opened fire, killing two of them. They tried to return fire, but the dice were still in my favour, and Terry failed to kill anyone
Terry then brought on another squad, and opened fire and killed three. Terry's final few dice came on and brought out on a light mortar, which failed to hit my Bofors and his other officer. His final action was to bring on the LG40/75 artillery piece which, as a fixed weapon, couldn't shoot.
I ended the turn with the Bofors opened fire at one of Terry's squad, but the dice god finally deserted me, and I missed.
Turn 2:
The first dice of turn 2 was mine and I tried to open fire with my MMG, however, in the midst of war, the order was misheard and the lone crewman went down. Terry got the next dice and landed a light mortar shell on my Bofors. Eep.
However, the dice gods were still in my favour and so I was spared any injury. Terry then passed the morale test on the damaged Fire Support squad who opened fire on one of my squads, who decided to hug the dirt, but yet one of their number was killed.,
 |
| `Hold the line lads |
My other MMG opened fire at Terry's squad advancing on the left flank, and despite causing three hits, no one dies. Terry then opened fire on my mortar and wiped it out. I then got the next few dice and was able to bring on a squad behind Terry's force and wiped out another man. An officer joined them, but I tried to bring on the fourth and final squad, but the dice were not with me, they'll be on in the next turn.
Terry got the next few dice and saw his squad opened fire, and kill another two men from my squad on the left. Terry's other squad advanced upon the MMG.
Despite the mortar shell causing a pin marker in the previous turn, I was able to open fire with the Bofors and wiped out three of Terry's men in one of his squad (I did not record which squad) and gave them an extra pin.
Terry, then responded by dropping a mortar shell on the squad who went down at the beginning of the turn and killed another two of them. Meanwhile, Terry's Howitzer opened fire on the damaged unit in the centre of the table, adding two more casualties. One failed morale test later and the squad had disappered off the table. Terry then moved an officer forward and captured one of the objectives. I finished the turn by bringing on my other mortar on to the battlefield.
I had lost a squad and a mortar team in this turn, and Terry had claimed an objective. This could prove to be costly to me.
Turn 3:
I opened this turn with my MMG and a squad firing at Terry's squad and killing four of them. That was good, but not enough to cause a morale test. I then brought on another officer, needing to use his plus one to morale tests to make some tests.
Terry responded by dropping another light mortar shell on to my Bofors. He seemed quite intent on destroying something he was supposed to be capturing, and so I decided to go down, and he was unable to cause any hits.
 |
| Sneaking Germans in on the flank |
My newly arrived Mortar team missed with their first shot. The lone man with his MMG passed his morale test and shot at the nearest squad, killing one of their number. Terry then started to return fire, his squad in the woods killed two, including the LMG, of my nearby squad. Meanwhile, his squad on the left flank passed their morale test and charged the MMG. The writing was on the wall, and the MMG was dead. He then tried to put a howitzer shell on my officer, who went down and the shot missed.
Terry's squad in the centre of the table, opened fire on the other machine gun, leaving one man there. Who, like the other MMG passed his test on a double 1. Terry, then charged in, hoping to get the objective. I opened fire and killed three as they charged in. Leaving one man with an SMG who was bale to kill two in combat, before I killed him.
After those brutal moments passed, I took the moment (and a failed order test to put one of my squads down) However, my final squad arrives on the baord, opens fire and takes out Terry's squad NCO. The turn turn with Terry's officer going down, on the objective.
We were now midgame and it was evenly balanced.
Turn 4:
Terry got the first dice of this turn, and tried to hit the Bofors again, but the dice gods were still smiling on me and the shot missed.
 |
| Let's get them lads |
I got the next few dice and my MMG took out another two men from Terry's largest men. This was made sweater, by the fact I was able to take out the man with the LMG. One of my squads was then able to do enough damage on one of Terry's to whittle it down to one man, who failed his test and ran off.
My Bofors and Mortar, both missed their intended targets and so as my next dicw came out I advance one of my squads towards the objective, with Terry's officer who went down, and survived the hail of bullets that I unleashed at him.
Terry then moved his howtizer towards my largest squad, and missed. His squad in the centre went for the objective, or they would have done if Terry hadn't failed his morale test. However, Terry was able to wipe out the final MMG with his fire support squad.
I then sent my officer after his light mortar that had spent most of the game shelling my men. He tried to fire it at a squad, but the shell landed wide. The turn came to a close with my other officer, missing Terry's squad and his officer staying on the objective.
Turn 5:
 |
| Objective reclaiming |
With Terry's officer on the objective, I was going to have to do something, and receiving the first dice of the turn, I charged a squad in. He opened fire, causing a pin, but I soon dispatched him and reclaimed the objective.
Terry then tried to hit the Bofors with the mortar and missed again. He then fired his Howitzeer into my sqaud, who had just reclaimed the objective, killing four of them including the NCO and gaining me two pin markers as well.,
In response to this, I opened fire with the Bofors gun, and aimed for Terry's squad. I killed four of the squad and caused 3 pin markers. Terry was able to pass his Morale test, but I became a convert to the Bofors and it's auto cannons. I'll be getting a few more for my armies I think. I then ran a squad to the middle objective to secure it.
My officer opened fire on a nearby squad, killing the NCO, with a well placed shot. Terry then tried to take out my sqaud who had gone down from the howitzer, but was not able to add any damage to the squad.
My officer, scouting the enemy Light Mortar was able to fire in, and kill one of the two man crew. The surviour passed his test, and didn't run off, much to my frustration. My mortar then failed to hit, followed by Terry's mortar aiming for the squad in the centre, hitting them. Killing five of thier number, and they ran for it.
Not the greatest three dice for me.
Terry then rallied his squad in the centre, removing all of thier pin markers and as the turn came to an end, his officer moved out of the treeline.
Turn 6:
Terry received the first dice of this turn and his howitzer was able to range in on my squad on the objective. I went down, but still two more died. My officer, and his men, charged the lone man of the Light Mortar and wiped him out.
 |
| No Germans here |
The Bofors, passed another morale test, and killed two more men. Sadly, I did not record which squada of Terry's this came from, but it was still two more dead. Terry's final fire support squad charged in, to my squad. I opened fire and killed 3 as they charged in. The combat began, and Terry killed one, whilst my finest examples of the British Experdiation Force were able to kill two in return, winning the combat and destorying Terry's squad.
Terry managed to miss the Bofors again with his mortar, whilst I was able to wipe out the last of his squads with a well placed mortar shell. Terry's officer went down, and I moved my officer on to the obejctive in the centre.
As the turn came to an end we rolled to see if we would have turn 7, it was late.
And the dice gods knew that, as a 1 appeared on the dice.
With that roll, the turn was over and there would not be another one. It had been a bloody game, but I had won with all three objectives and gained 15 campaign points.
I really enjoyed this scenario, there was a clear narrative to it, take or hold the objectives. But the added fact that there was no terrain, meant that the board was a killing field. Bolt Action is a game about shooting with as many dice as possible. The more dice you get, the more hits which even if you don't kill, will still cause a pin marker which is even more inconvient to your oppenant.
Terry and I agreed this is a hard scenario for the German forces, as you've got to get across the land to the objectives as quickly as possible. Being veteran is very useful, but with a high number of shots, it's still going to be a hard challenge.
I don' think I would do anything differently, if we were to replay this scenario again, but now that I've got to try and take the objectives in the next game, it's given me some ideas on how I am going to do that.
No comments:
Post a Comment