|
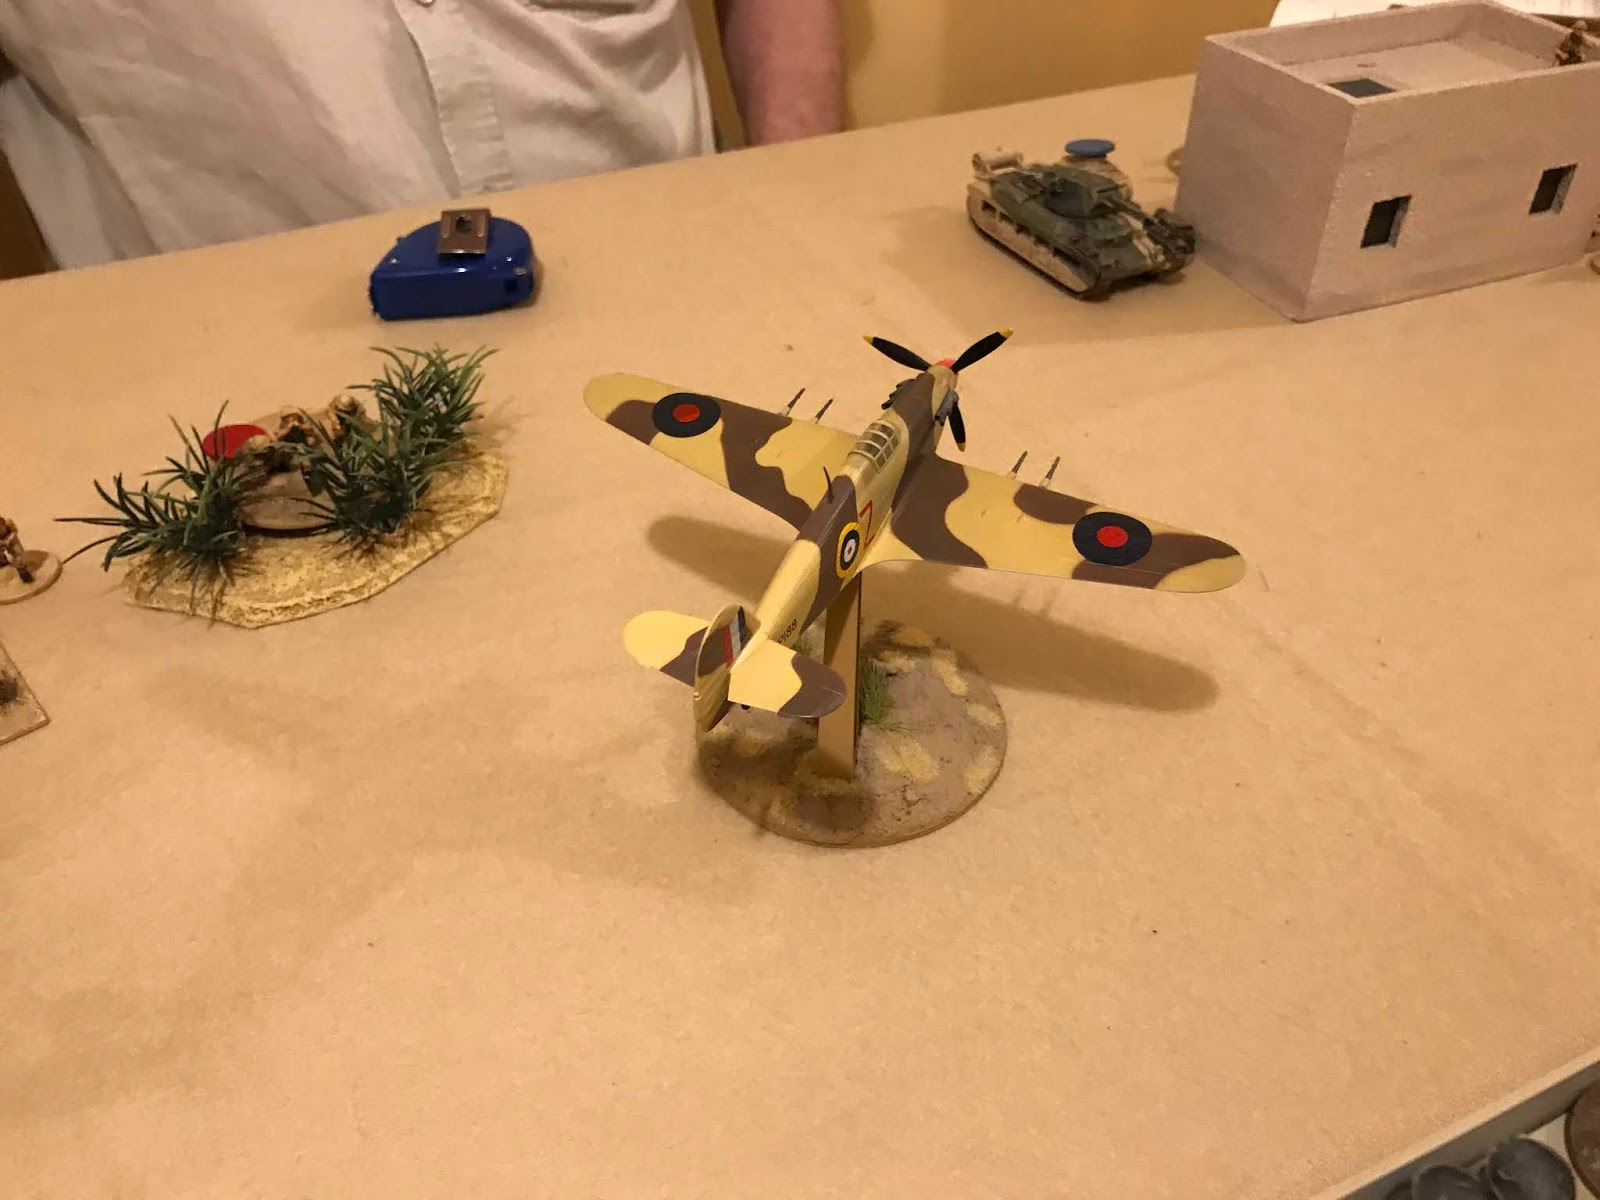
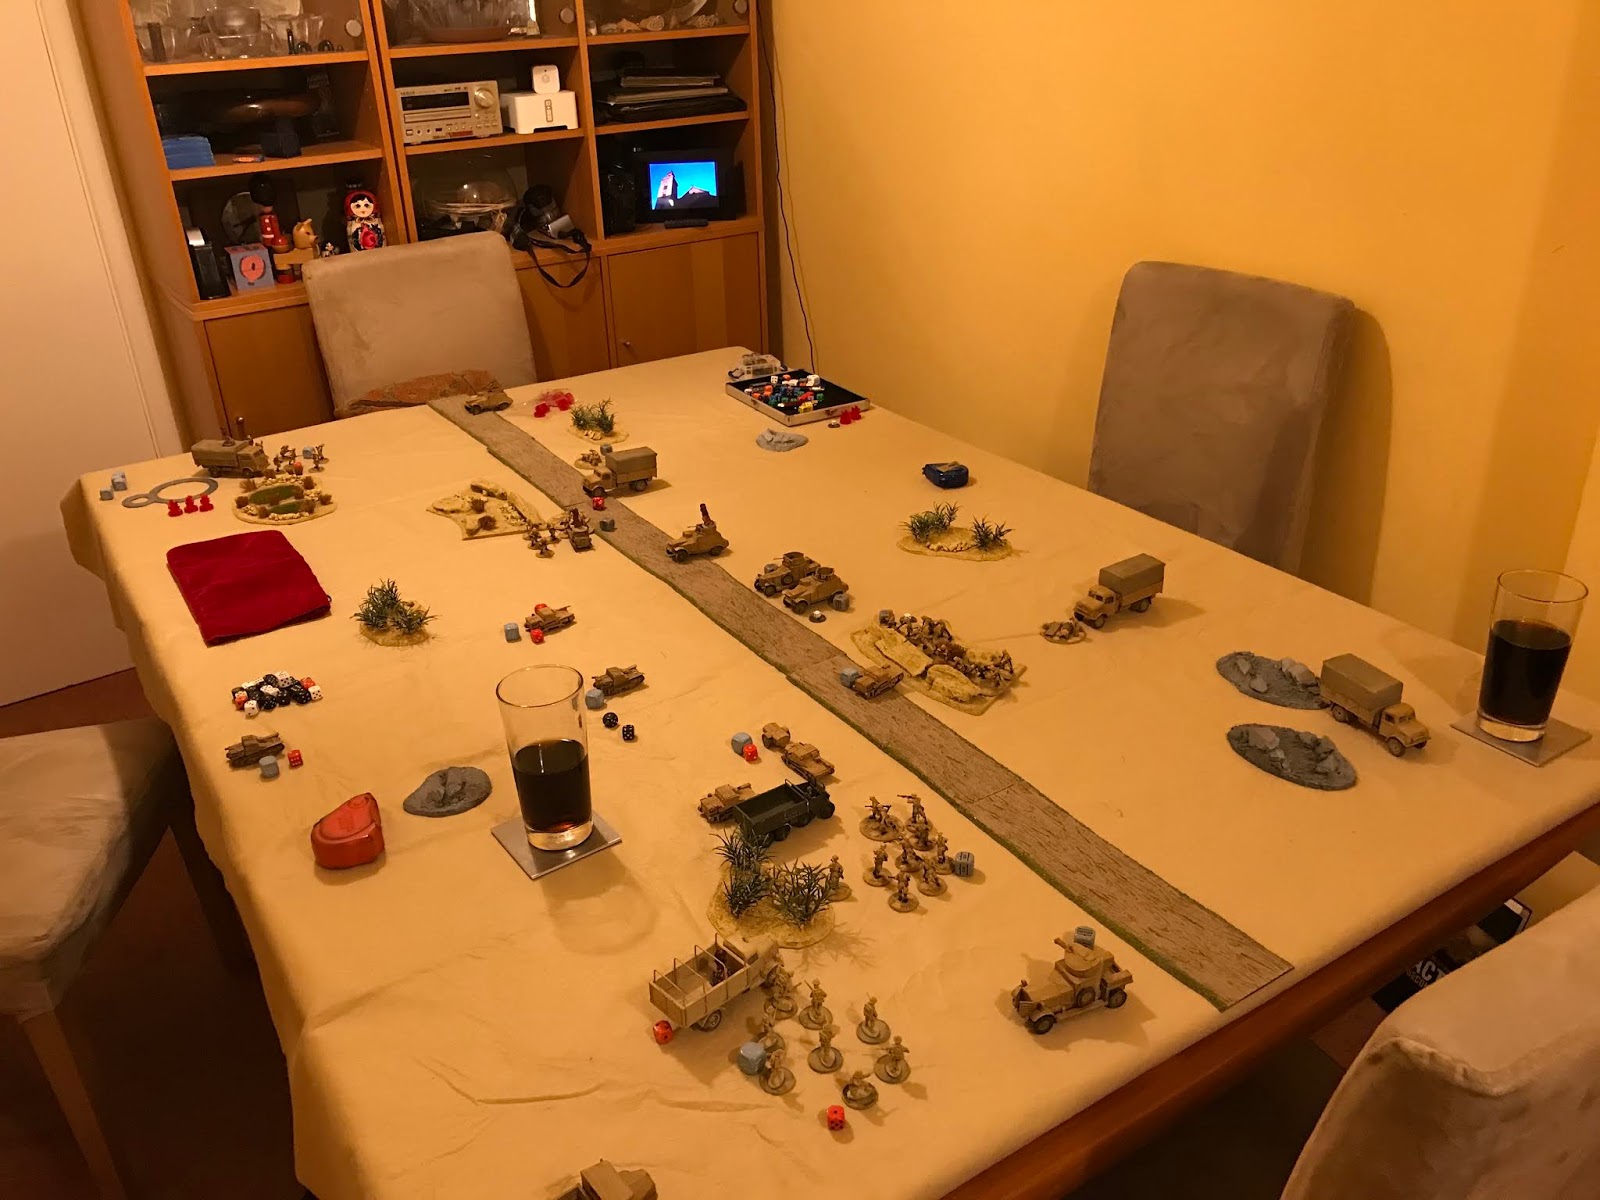
| The table mid game. |
So, after an extensive year of playing through Operation Sealion, Terry and I have moved to the Desert, and we are going to be working through the Bolt Action Western Desert campaign book. This has seen my investment in two new forces, Desert British and Italians, with plans for a third. Desert Germans. It’s also seen my knowledge in different tanks increases and I build and paint, lots, and I mean lots.
We’ve also got plans for a big game later in the year, which will see us have a big table and a lot of tanks. But that’s another blog.
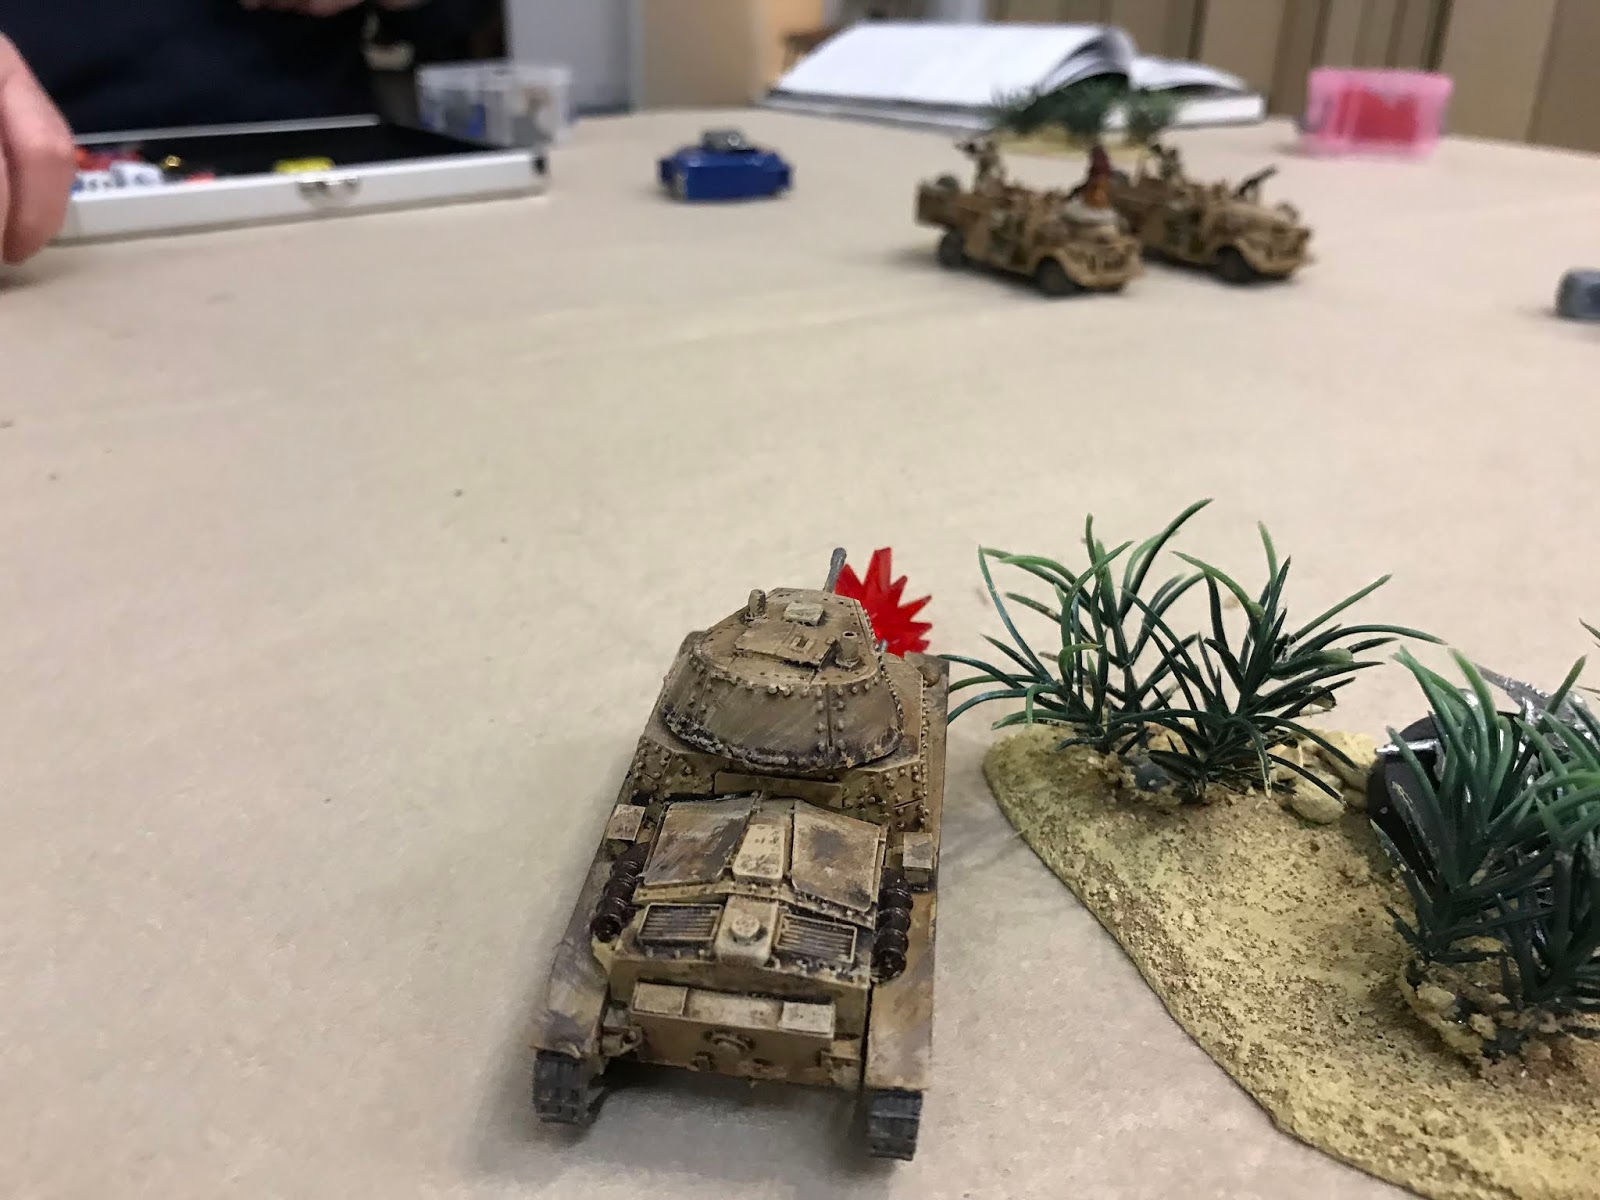
So, the other night, we got our toys out and played through the first scenario. I started out with the Italians, and I brought a force of seven CV 33’s Tankettes. One with an Anti-tank rifle and another with a flamethrower. This was backed up with three squads, in trucks, to take on any infantry or a glorious charge against vehicles.
This game would be using several of the Desert Rules, such as tanks getting double pin markers as sand get’s everywhere, which are found in the Western Desert book and night fighting. Using these rules were a first for both of us.
Turn 1:
As the flare went up, and the enemy spotted, we raced forward. Terry got the majority of his troops on to the board first. I was soon facing a number of Humber CS9’s and Rolls Royce’s, with squads hiding in the back of trucks, with a lone Tankette.
 However, it managed to survive a number of incoming shots. In fact, it wasn’t until the middle of the turn was Terry able to kill something, blowing up a recently arrived truck on my left flank. Worse, as the squad bailed, a number died as they exited.
I took my return and wiped out one his light mortar. The game came to an end and the next turn, would be in darkness.
Turn 2:
With reduced visibility from the darkness, this was a turn of manoeuvring, and very little shooting. My anti-tank gun armed Tankette was able to take out one of Terry’s Humbers which had strayed a little to close.
However, his advancing Rolls armed with a gatling machine gun was able to take out another of the trucks causing damage on the squad as they bailed out.
In the Centre of the table my final squad advanced towards Terry’s squad in the rock pile but was unable to do further damage. The turn ended with a flare going off, ending the night.
Turn 3:
On the right flank, Terry’s squad that was pinning my squad in the burning building. My tankette advance up behind them, and opened fire, with the machine Gun. I was able to kill a number of the squad, but they were going nowhere.
On the left flank, Terry’s squad charged into my squad, and wiped them out in one round of combat. Ouch. However, there was a surprise as my flamethrower armed Tankette rumbled up and failed to hit. It would have been so good.
My turn got ever worse, as Terry’s squad recovered from being shot at, and charged the Tankette in return, destroying it in a hail of hits. Things had turned towards Terry.
 |
| please hit..... |
Turn 4:
The flare barrage continued and once again, and I needed to do something with the squad on the left flank, I had decided to charge the Gatling mounted Humber with a squad, hoping to replicate Terry’s success of the previous turn. However, they failed the moral check, and decided to go down behind a sand dune instead.
In the previous turn, I had reversed a truck out of the way, so that I could now manoeuvre a machine gun armed tankette into point blank range, which caused Terry to go down, despite this I did a number of hits, which saw me decide to manoeuvre the flame thrower armed tankette at another squad nearby, who were hiding in a rock pile.
I rolled a 1 again. This was why I brought a flamethrower, but no joy.
In the centre of the table, Terry and I traded pin markers, and on the right flank my command Tankette charged forward, and began to whittle down the squad that caused my tankette to be destroyed in combat.
The flares came down and night descended again.
Turn 5:
With reducded visibility, I decided to open fire with the flamethrower, and this time it hit, and killed a two of Terry’s troops. Thankfully vehicles get a +1 when rolling to hit, but still 2 dead.
 However things, swung back in my balance as I had inflicted 4 pin markers on Terry, and the squad ran off, having seen two of their number become human torches. My command tank also paid off the remaining squad with it’s machine gun, killing three of their number, and the final chap running off.
On the left flank, after having rallied in the last turn, my squad over there moved forward, and killed one of the MMG, which had failed to spot them coming.
Meanwhile on the right flank, through bad dice rolling, and me failing my morale check, Terry’s squad was left wounded, but still in the fight. Thankfully, the Humber couldn’t see anything.
However, breaking from the centre of the table, one of Terry’s Humber broke through a Tankette, and could see the flamethrower mounted Tankette. The final action of my turn was to attempt to move a Tankette that had spent the last three turns retreating, after failing morale checks, this time I passed and moved on the attack, adding some pins to the
The turn ended with the flares coming on again.
Turn 6:
The first dice went to Terry, and he took aim at the Flamethrower, damaging it, but not destroying it. It was going anywhere, but it could still shoot. Annoyingly, however, it would only shoot to the front, and there was nothing in it’s line of sight.
Choosing the better of two evils, and having already shot at it, with a machine gun, my remnants of a squad charged Terry’s squad and wiped it out.
In the Centre, Terry poured a lot of fire into my tank but was not able to destroy it, he added a lot of pins, which I then duley retunred.
As the turn came to an end, Terry was marginally in the lead. Another turn, was rolled for and the dice showed that we had one more turn to play.
Turn 7:
 |
| Victory. |
I pulled the first dice and it was mine. On my left, I shot at the Machine Gun team infront of my squad and wiped it out. We were even on victory points, I reached for another order die, and it was mine.
On the right, my squad charged forward, taking on the Humber CS9, that had immobilized the nearby flamethrower armed Tankette. As it was opened topped, I didn’t have to check for tiger fear, and wiped the vehicle out. I was now winning.
Terry, then poured a number of anti tank shots into my Tankette at point blank range, but despite getting a dangerous number of pins, they were still moving around. The Machine gun armed Humber inflicted some more damage on my squad, but the game had come to an end and I had won.
David 14 victory points
Terry 12 victory points
So, that was a lot of fun. I like playing with tanks. Tanks are fun, and the CV33’s in this sort of scenario, where it’s mainly armored vehicles or very, very light tanks, is a lot of fun and I will be investing in a flamethrower mounted CV asap. I do think I was very lucky, we had the seventh turn, which was followed by the first two action dice, which allowed me to take out two more of Terry’s units which gave me the win. I was also fortunate, that Terry rolled poorly and didn’t take out any further vehicles or troops in the last turn. But it was a good, fun start, and I’m looking forward to taking on the Italians as the Brits.
 Another week, and another game in the Desert Campaign. This time, I would be the brits, trying to take the fort from Terry's Italians. Having seen how Terry had attempted to retake the fort. I took four squads. My plan was to use them to try and capture the various objectives, and two matilda's and a Vickers, to run rampant and destroy as much as they could. I also took an Artillery observer and a mortar. The Artillery Observer was risky, considering how poorly Terry did in the previous game wiping out two of his own units, but we'd see how they did.
 Well, the game proved the old adage "a plan only lasts until it makes contact with the enemy" true. Instead of going for the two objectives nearing me and the big one in the middle, I sent a squad up to the objective in the top of the table. The game came to an end, at the end of turn 6, which meant that the objective was still being contested by a single man from one of Terry's squad that I had failed to wipe out.